A step-by-step guide to the Netgear extender setup process
Commonly, Wi-Fi extenders are used to boost the network range and coverage, ideal for multi-story houses and office apartments. Likewise, Netgear offers a variety of range boosters to eliminate dead zones and improve network performance. So, to use these devices in the best way, the Netgear extender setup is the first step.
However, by setting up the Netgear extenders, you can easily access and configure the extender settings. Generally, there are different alternatives to carry out this process, i.e., web GUI, WPS button, and the Nighthawk app. Therefore, this guide elaborates on these effective methods to let the users know about how to setup netgear wifi extender.
How to carry out the Netgear extender setup process?
Before you dive into the detailed process to carry out the netgear range extender setup process, you must have some important things. It includes a stable internet connection, adequate power supply, web & IP addresses, login credentials, etc. So, in this section, we outline the essential steps to perform the Netgear wifi extender setup process.
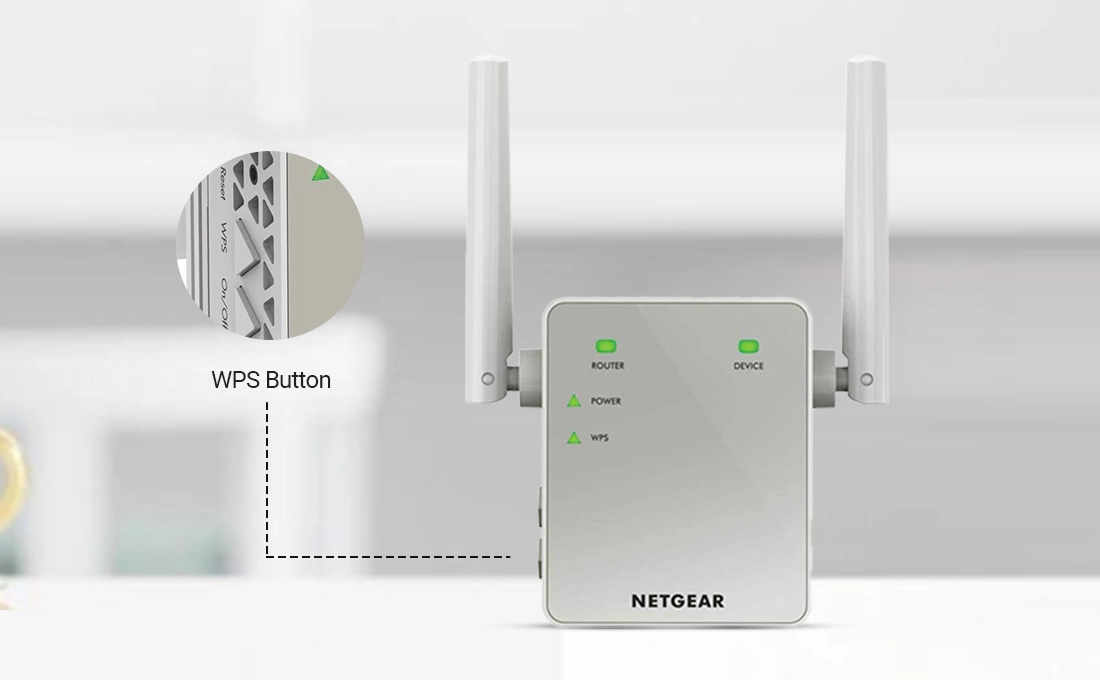
WPS button method to setup Netgear Extender
- Primarily, power on your Netgear Extender.
- Now, locate the WPS button on your extender and the router.
- Simultaneously, press this button on the router & then on the extender within 2 minutes.
- Wait for a while until the LED on the extender turns solid green.
- Eventually, your Netgear extender setup process completes.
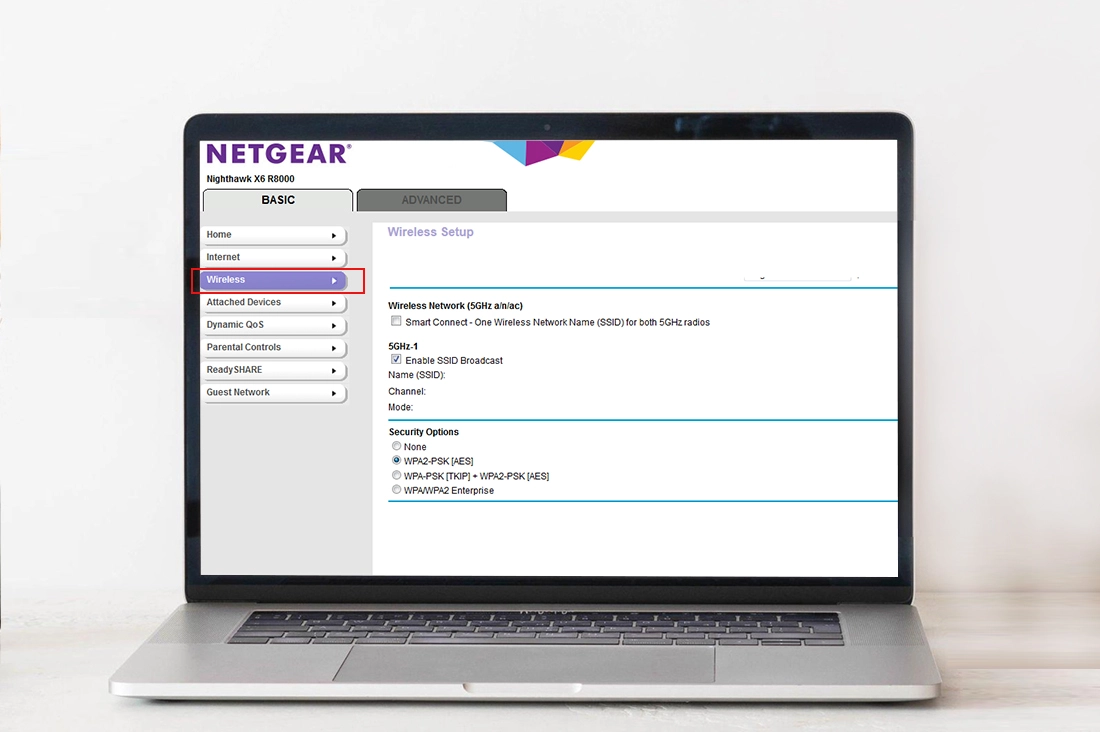
Setting Up the Netgear Extenders through web GUI
- Initially, turn on your Netgear extender.
- Now, connect your computer to the extender’s network.
- You can use wired or wireless connections to link the networking devices.
- Further, open the web browser and enter the mywifiext.net web address.
- Instead, use the default IP address, i.e. 192.168.1.1 for login.
- Then, enter your login credentials on the login window.
- After that, you visit the smart setup wizard of the Netgear extender.
- Hereon, go to Basic Settings and change the SSID name and password.
- Also, you can configure Advanced Settings, such as Parental Control, Guest Network, Bridge Mode, etc. to set the device accordingly.
- Further, click on Save to implement these modified changes.
- With this, your range extender setup finishes.

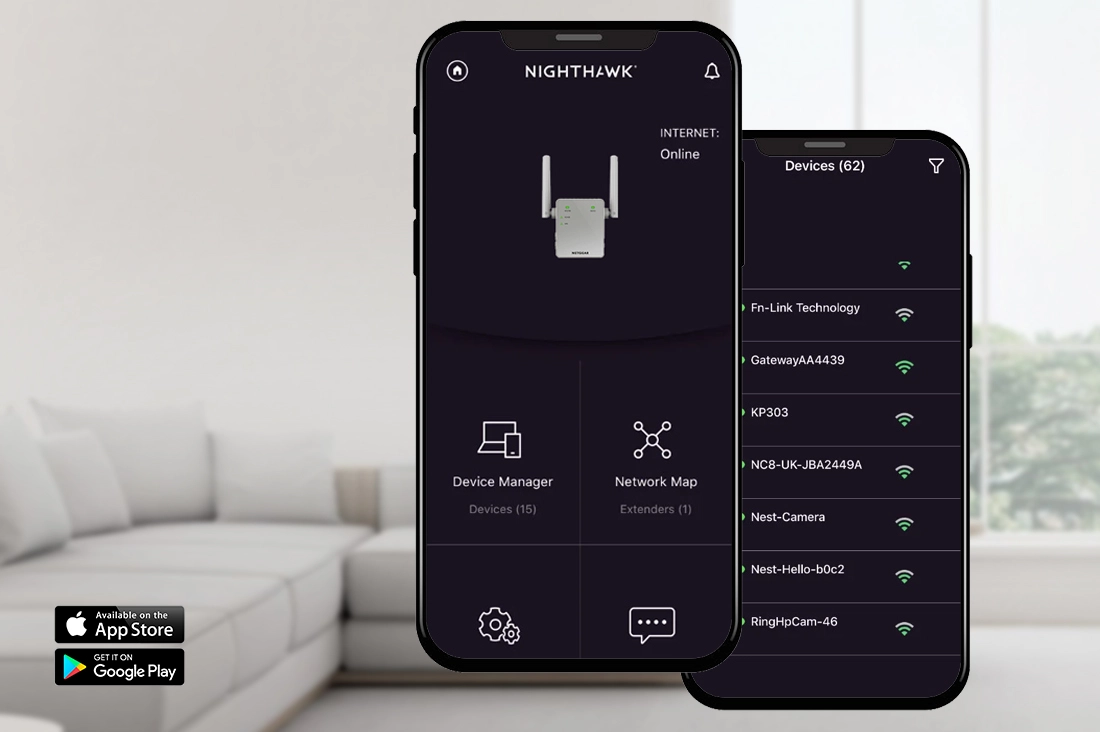
Nighthawk app to perform Netgear range extender setup
- Firstly, ensure that you have the latest Netgear app installed on your smartphone.
- Now, confirm that your smartphone is connected to the extender’s wifi network.
- Then, open the app and log in to your account.
- Afterward, visit the master Setup wizard of the extender.
- Now, go to Basic Settings and Advanced Settings to configure settings.
- Here, you can change SSID, password, Parental Control, Bridge Mode, AP Mode, Guest Network, etc.
- Lastly, click on the Save/Apply button to implement these settings.
How to carry out the netgear extender Access Point setup in simple steps?
Generally, the Netgear extenders are used as an access point to extend the network coverage of the existing network. Therefore, the Netgear extender is set as an Access Point to enhance the network coverage and speed.
Hence, we have simplified the steps to put the Netgear extenders in the AP mode in this section. Let’s have a look at the netgear extender access point setup process:
Configuring the Netgear wifi extender in AP mode using Web GUI
- Firstly, ensure that your extender is powered on.
- Then, connect your computer/laptop to the extender’s network.
- Further, access your Netgear account through the ‘mywifiext.net’ web GUI.
- After login, you land on the Setup wizard of the range extender.
- Here, go to Settings>Advanced>Choose the given options as AP (Access Point).
- Then, follow the on-screen instructions to complete the AP mode setup.
- Lastly, click on Apply to save and execute these settings.
Quick Steps for Configuring the Netgear Extender Guest Network
Usually, catering to the users’ security and privacy concerns, the guest network mode is set up. This mode enables the visitors to access the home networks without getting the original wifi password. In this section, we elaborate on the complete procedure for Netgear extender setup in guest mode. So, read the steps below:
Steps to setup Netgear extender Guest network via the Web GUI
- Firstly, access the extender’s login page using the mywifiext.net web GUI.
- Now, login to your account using admin credentials.
- After login, you reach the main Dashboard of the Netgear extenders.
- Here, go to Settings>Wireless>Guest Network.
- After that, Enable the Guest Network option and edit the SSID name & Password fields.
- Further, enter the separate network name and the password for this option.
- Hereon, select the 2.4 GHz for the guest wifi network.
- Further, complete the settings following on-screen instructions.
- Lastly, click on Save/Apply to execute these settings.
Troubleshooting netgear range extender setup issues
Despite the simple procedure of the extender setup, users often encounter different netgear wifi extender setup issues. These issues may arise due to network disconnectivity, wrong admin credentials, incorrect web addresses, etc.
Therefore, to avoid these issues, this section outlines the effective netgear wifi extender troubleshooting tips. Look beneath for quick tips to resolve the aforementioned issues.
- Ensure that you have a strong internet connection.
- Inspect the power sources and replace the damaged cables, and adapters, immediately.
- Power cycle your Netgear extender to resolve the technical glitches and bugs.
- Eliminate network interferences to avoid connection drop-off.
- Cross-verify the IP address and web addresses before accessing your account.
- Ensure that you’re entering the correct login credentials to access the admin account.
- Check that your extender’s firmware is updated with the recent versions.
- Locate your extender in a shady and ventilated area.
- Carefully configure all the network settings and don’t forget to save them.
- Ensure that VPN and other security software are disabled during this process.
- If all else fails, then reset your extender to bring it to its factory default settings.