Generally, Netgear range extenders are designed specifically to provide you with uninterrupted networking services. These devices are perfect for gaming enthusiasts, smart homeowners, and businesses. Additionally, to make the most of this networking device, it is necessary to learn the Netgear ac750 wifi range extender setup first. This will enable you to customize the networking device according to your requirements.
Further, there are three primary methods to execute the configuration of this networking device. One is using the web address, WPS, and another is through the Nighthawk application. So, to get the elaborative steps regarding how to setup a Netgear ac750 wifi range extender, go ahead with this brief piece of content!
Explain the simple steps for Netgear ac750 wifi range extender setup.
Before you move forward to configure your home network system, you must get ready with a few of the primary things, such as a stable connection, valid user details, computer/smartphone, and more. Afterward, choose web GUI or the app method to proceed with the Netgear ac750 extender setup and follow the steps mentioned below:
Web GUI
- To start with, connect your Windows system to the Netgear extender’s network.
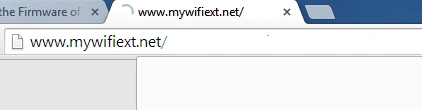
- After that, open the web browser and write in mywifiext.net web address in the browser bar.
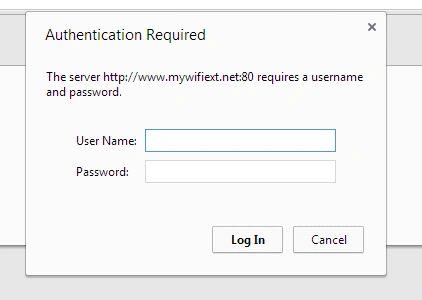
- Here, a login window appears to you, so mention the accurate admin details on this dashboard.
- After logging in, you visit the Setup page of the range extender.
- Now, tap on New Extender Setup and accept the Terms & Conditions.
- Next, generate a new admin username and security key for your extender interface.
- After that, set two security questions and click on Next.
- Hereon, the repeater will search for the home network that you want to extend.
- The list of available networks presents to you, so select your connection or tap on See More if not found in the given list.
- Additionally, enter the accurate network password for the chosen network.
- Further, click on Next and you are asked to set the network and password for your repeater again.
- Or, you can use the same network details as your existing router has.
- Hereon, go back to the web browser and tap on Continue at the bottom.
- Further, you can also configure additional settings, such as Access Point, MAC Filtering, HD video streaming, and more.
- At last, you understand how to setup a Netgear ac750 wifi range extender easily.
Nighthawk Application
- Firstly, use your smartphone to join the Netgear extender network.
- Ensure that the repeater is powered on and placed closer to the router.
- Further, confirm that you run an upgraded version of the Nighthawk application on your mobile device.
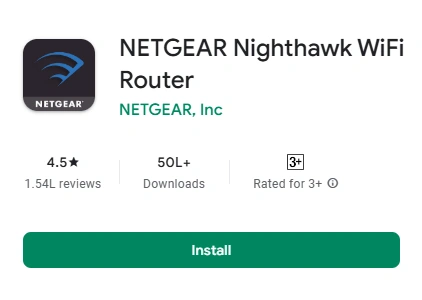
- After that, initiate the app and access the admin account by entering the accurate user details.
- After logging in, select your networking product which is Range Extender.
- Now, you are prompted to power on your extender. If it is powered on then tap on Next otherwise you need to turn it on first.
- Afterward, click on the Join option when prompted “Nighthawk wants to join WiFi network Netgear _ext Network.
- Wait until the app scans for your repeater and then click on Next.
- Hereon, a list of the available networks present to you, hence choose the one that you want to extend.
- Also, opt for the bandwidth alternative for your router if it is dual-band (2.4/5 GHz).
- After that, key in the wifi password for the selected network connection.
- Again, tap on Next and wait until the app verifies and connects your repeater to the router’s network.
- Now, click on Join and set and confirm a new Admin password for your range extender.
- Further, set two security questions and move forward with the given instructions.
- Here, you get the notification as “Setup complete.”
- Also, move back to the app dashboard and configure additional settings, like Parental controls, Guest network, etc.
- In essence, you are done with the Netgear ac750 wifi range extender setup.
WPS
- To initiate the WPS connection procedure, place the router and extender closest to each other.
- Now, look at the WPS knob on the router and extender.
- After that, press and hold the WPS button on the router and then on the repeater simultaneously within 2 minutes.
- When LEDs on both networking devices start blinking, then release the knob.
- Further, check if the LED on the range extender turns to a solid green or blue.
- This will show the successful connectivity of the router and extender.
- Finally, you can use the web address or Nighthawk app to configure the additional settings.
In a nutshell, the given information will assist you in executing the Netgear ac750 wifi range extender setup efficiently. Additionally, you can opt for any of the above-discussed methods to complete the extender configuration. For more information like this, read our further blogs!